
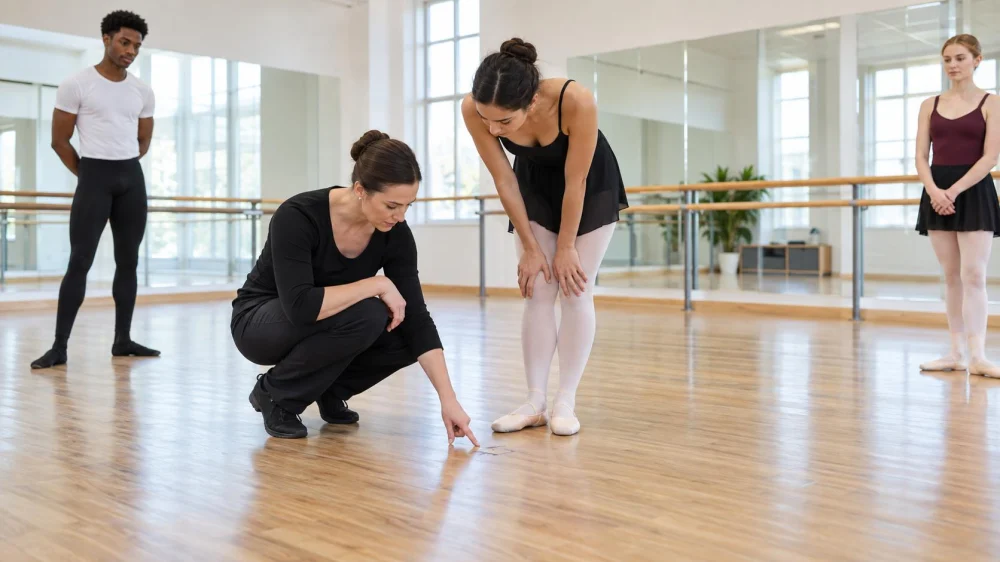
Dance Floor Safety: Surface, Space, and Stop Signals
On this page
- Quick answer
- Why the dance surface matters
- Make a quick pre-class scan
- Match footwear and traction to the class
- Set spacing for the movement path
- Agree on stop signals and responses
- Respond to a floor hazard
- Limits and important notes
- Frequently asked questions
- Sources and evidence notes
- Conclusion and next steps
Quick answer
Before dancing, scan the floor for moisture, grit, tape edges, gaps, soft spots, and objects; confirm clear travel paths and enough spacing for the planned movement. Match footwear to the surface and studio rules. Stop immediately if traction changes, the floor shifts, someone enters your path, or you feel unsafe. Mark the area, alert the instructor, and resume only after the hazard is addressed.
Why the dance surface matters
A dance floor is part of the movement system: its firmness, resilience, finish, cleanliness, and friction interact with footwear and choreography. A surface that works for one style or shoe may feel too slippery or too gripping for another.
This guide is for dancers and instructors in US classes and rehearsals. Building, studio, competition, and production rules vary, and a qualified facility or flooring professional should assess structural or persistent surface problems.
Make a quick pre-class scan
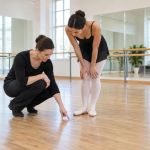
- Walk the usable area slowly before jumping, turning, sliding, or traveling.
- Look across the light for wet patches, grit, residue, lifting tape, seams, gaps, bubbles, and uneven panels.
- Check that bags, bottles, cables, speakers, props, and chairs stay outside movement paths.
- Confirm mirrors, barres, doors, curtains, and portable equipment are stable and positioned as intended.
- Identify exits and keep them clear.
Report a concern before trying to test it at full speed. A small traction change can become significant during a turn or landing.
Match footwear and traction to the class
Use footwear approved for the dance style, surface, and studio. Check soles for moisture, embedded grit, loose material, worn patches, or a treatment that leaves residue. Street shoes can carry sand, oil, and water onto the floor.
Do not apply rosin, powder, water, wax, cleaner, or another traction product unless the instructor and facility explicitly permit it. A local fix for one dancer may create a hazard for everyone else.
Set spacing for the movement path
- Learn the direction and endpoint of the combination before starting.
- Leave additional room for jumps, turns, props, partnering, and fast travel.
- Stagger lines so dancers are not directly behind a moving person.
- Wait for the previous group to clear the full path.
- Use an agreed edge, corner, or exit route after finishing.
- Reduce group size or movement range when the room cannot support the planned pattern.
Agree on stop signals and responses
The instructor should identify a clear verbal or audio stop signal. When it occurs, dancers should control momentum, avoid sudden changes that endanger others, and move to the instructed safe position. Anyone who sees a spill, loose object, surface shift, collision risk, or medical concern should be able to call attention to it promptly.
Do not step into another group's path to retrieve an item. Alert the instructor, pause traffic, and remove the object only when the area is clear.
Respond to a floor hazard
- Stop activity and keep others away from the affected area.
- Tell the instructor or facility contact exactly what and where you observed.
- Use the facility's approved cleaning, drying, marking, or maintenance method.
- Do not conceal a damaged section with a loose mat or tape unless that repair is authorized for the floor.
- Recheck the area at walking speed before resuming.
- Document recurring leaks, lifting panels, or finish failures for professional assessment.
Limits and important notes
A visual check cannot confirm subfloor construction, shock absorption, structural integrity, finish compatibility, or whether a floor meets a technical standard. Pain, instability, or repeated slipping can also involve footwear, technique, fatigue, or a health issue rather than the surface alone.
Stop dancing and seek appropriate medical evaluation after a significant fall, head impact, inability to bear weight, visible deformity, severe pain, or other concerning symptoms.
Frequently asked questions
Should a dance floor feel slippery?
It should provide traction appropriate to the style and footwear without unwanted sticking or sliding. The instructor and facility should address unexpected changes rather than asking dancers to adapt at full speed.
Can I use rosin for more grip?
Only if the studio explicitly permits it for that floor and class. Rosin can build up, alter friction, and create inconsistent patches.
What if the room is too small for the combination?
Reduce travel, split into smaller groups, change direction, or modify the exercise under the instructor's guidance. Do not rely on dancers to dodge fixed obstacles.
Sources and evidence notes
This article uses general studio risk-control principles: inspect before use, keep routes clear, match footwear and surface, pause for hazards, and escalate recurring damage. The facility's flooring documentation, cleaning instructions, studio policies, instructor direction, and qualified building or medical professionals are the sources for a specific concern.
Conclusion and next steps
Build a thirty-second floor and pathway scan into every class. Confirm footwear, spacing, exits, and the stop signal before full-speed movement. Report changes early and treat repeated traction or surface problems as maintenance issues, not as something dancers should simply work around.
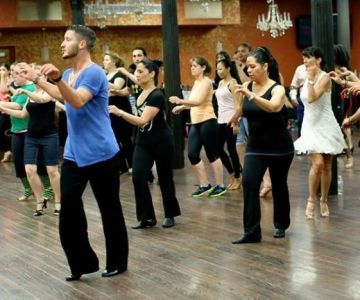
 Ballet San Antonio5.0 (9 reviews)
 Ritmos Latinos UofA Dancing location4.0 (9 reviews)
 Keur Khaleyi African Dance & Cultural Institute, Inc.4.0 (13 reviews)
 Ballet After Dark5.0 (5 reviews)
 V.O.P Dance Studio4.0 (17 reviews)
 Kaliente Dance Studio4.0 (42 reviews)
 Dance Class Absences: Makeups, Notes, and Safe Return
 Dance Floor Safety: Surface, Space, and Stop Signals
 Dance Recital Backstage Etiquette: Space, Sound, and Cues
 What to Expect at a Dance Audition: Process and Preparation
 Dance Music Volume: Protect Hearing and Communication
 Dance Warm-Up Plan: Build Heat Without Early Fatigue